Setting Up Continuous Integration for an ASP.NET Core Project with Github Actions
Continuous integration is the practice of committing code in a repository at a frequent pace to keep everyone working on a project in-sync. With frequent code commits, constant verification (preferably automated) should be made on the repository to make sure everything integrates properly. This allows faster feedback on code changes and catching errors early on in the development pipeline.
Github Actions provides a way to implement continuous integration on your Github repositories. It allows automated linting, building, unit testing and other custom codebase verifications you can think of. The best part is that Github Actions is free to use for open source projects!
The HomeBrew Application
We are going to work with a simple project to demonstrate the use of Github Actions for continuous integration.
HomeBrew is a mini ReST
API for an imaginary beer website made with ASP.NET Core. Its repository is available on Github. It has two main directories: HomeBrewed, the ASP.NET Core API project, and HomeBrewed.Tests, the XUnit project which contains the HomeBrewed test cases.
The goal is to perform automated unit testing everytime changes or integrations are made on the HomeBrew project.
Setting Up Github Actions
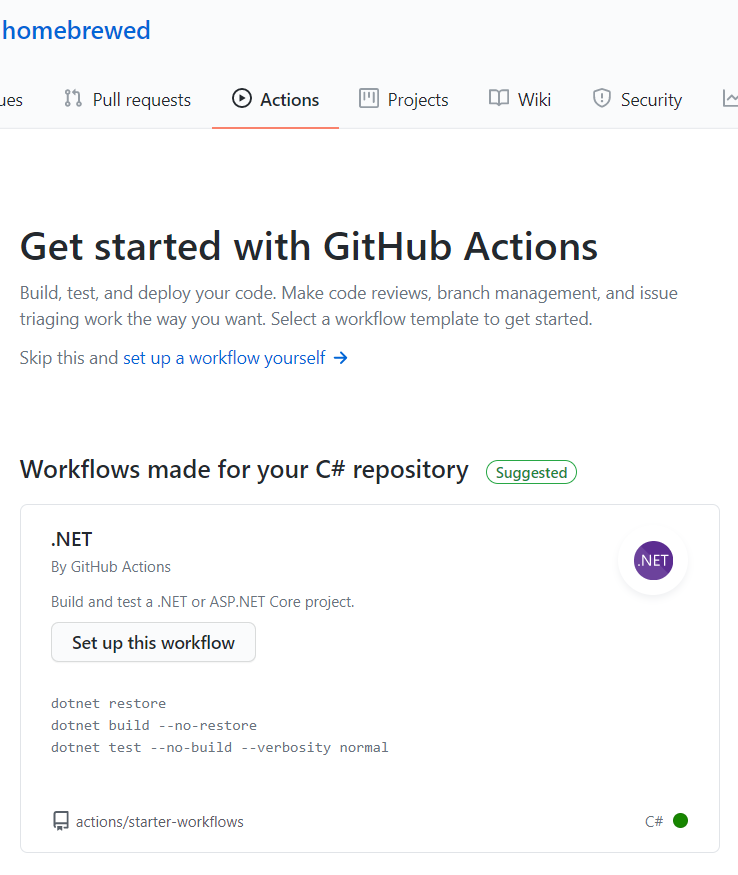
Go to the Actions tab of the repository. In there, workflow templates will be suggested for the project. Since the HomeBrew application is an ASP.NET Core project, a .NET workflow is suggested which suffices our goal to create automated unit tests.
Click on the Set up this workflow button to get started.

This opens up Github’s text editor wherein a file called dotnet.yml will be created under .github/workflow in our HomeBrew repository.
The dotnet.yml contains:
name: .NET

on:
  push:
    branches: [ master ]
  pull_request:
    branches: [ master ]

jobs:
  build:

    runs-on: ubuntu-latest

    steps:
    - uses: actions/checkout@v2
    - name: Setup .NET
      uses: actions/setup-dotnet@v1
      with:
        dotnet-version: 3.1.301
    - name: Restore dependencies
      run: dotnet restore
    - name: Build
      run: dotnet build --no-restore
    - name: Test
      run: dotnet test --no-build --verbosity normal
Understanding the Workflow
Let’s go through the dotnet.yml file to see what it’s trying to do.
The first line in the YML file sets the name of the workflow.
name: .NETNext, the events when the workflow will trigger are defined. In this case, the workflow will trigger when changes are pushed into the master branch, or when a pull request is made to the master branch.
on:
  push:
    branches: [ master ]
  pull_request:
    branches: [ master ]
The jobs which will run on the workflow are then provided. This specific workflow has 1 job to run which is named build and runs on an ubuntu-latest environment.
jobs:
  build:

    runs-on: ubuntu-latest
Lastly, the steps that occur on the build job are enumerated. Step 1, uses: actions/checkout@v2 pulls a copy of the repository into the runner. Step 2, actions/setup-dotnet@v1 downloads all the needed dependencies to run a .NET project (e.g. the dotnet SDK). Steps 1 and 2 make use of community actions as denoted by the uses keyword. Steps 3 to 5, the HomeBrew project is restored, built and tested by running dotnet restore, dotnet build --no-restore and dotnet test --no-build --verbosity normal, respectively with the run keyword.
    steps:
    - uses: actions/checkout@v2
    - name: Setup .NET
      uses: actions/setup-dotnet@v1
      with:
        dotnet-version: 3.1.301
    - name: Restore dependencies
      run: dotnet restore
    - name: Build
      run: dotnet build --no-restore
    - name: Test
      run: dotnet test --no-build --verbosity normal
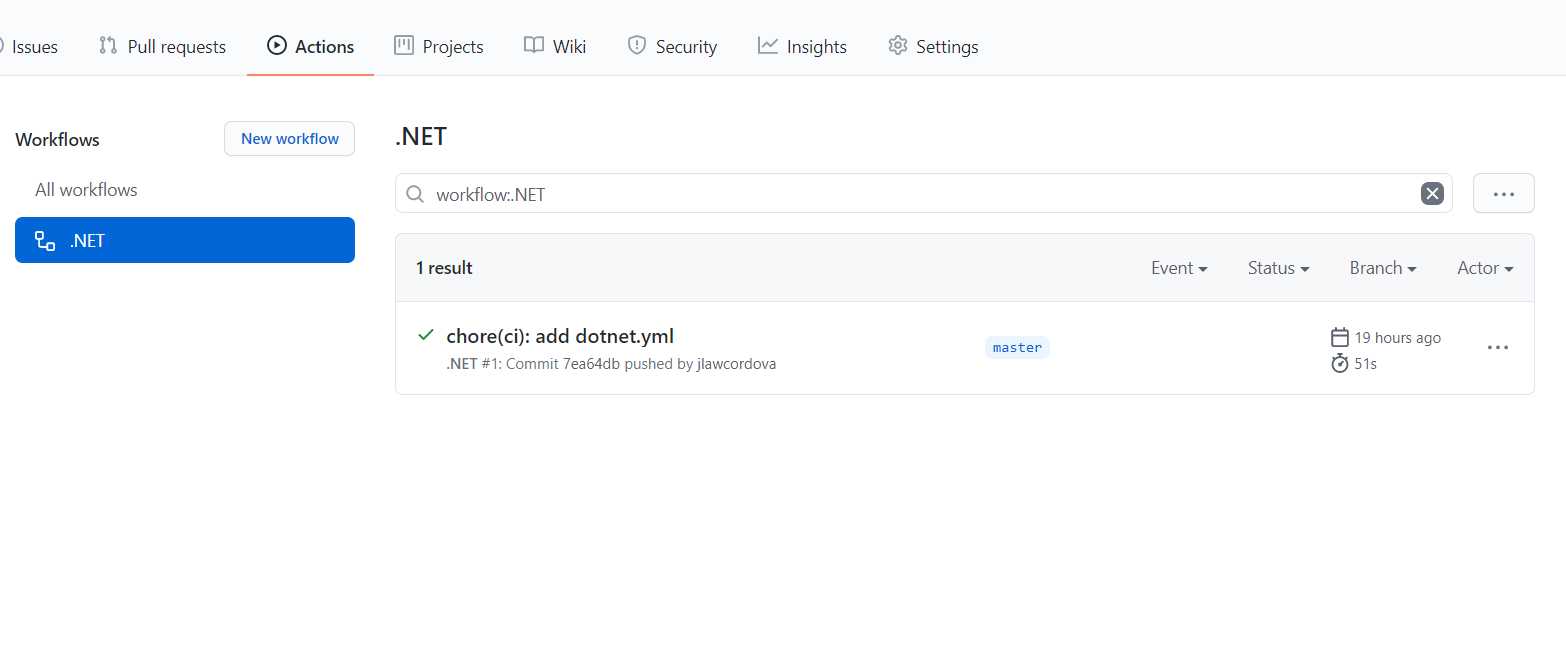
Commit the dotnet.yml file. Since we are committing these changes on the master branch (one of the event set on our workflow configuration), the workflow will immediately trigger. We can check this out on the Actions tab.

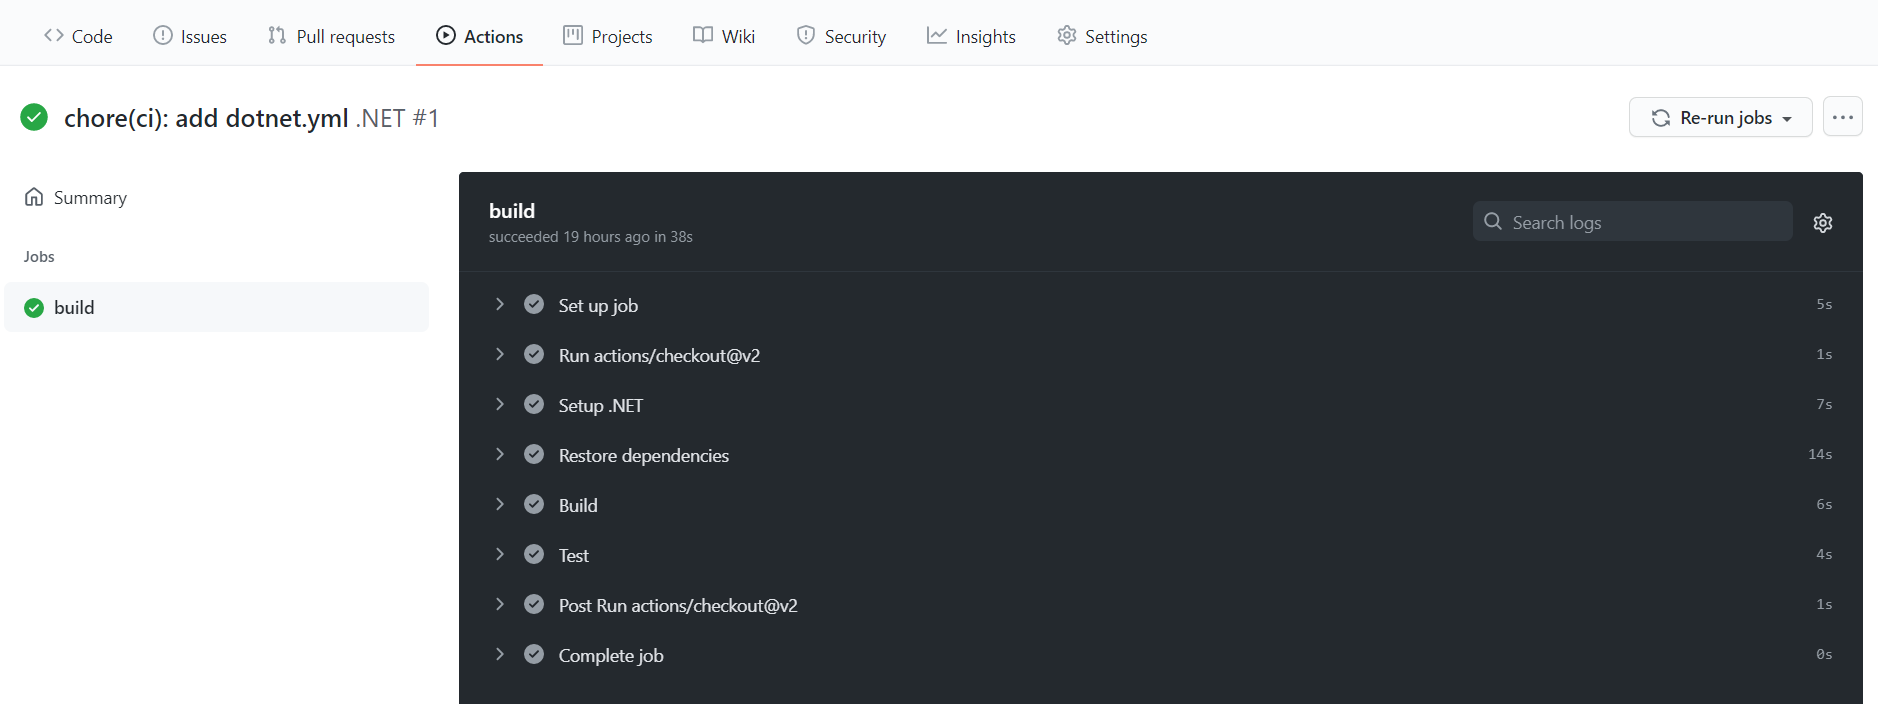
Clicking on the commit lets us see the workflow in action. We can see that a job named build is running, and all the steps we defined earlier are running one by one.
If all goes well, we should see a green check icon indicating that the automated workflow has ran successfully and all our unit test cases have passed.

If one or more unit test cases do fail, the workflow should fail as well, allowing us to detect code fault as early as possible.
Using Artifacts
In a previous blog post Creating Unit Test Coverage Reports for ASP.NET Core 3.1 Projects with Coverlet and ReportGenerator, we saw how tools such as Coverlet and ReportGenerator can be used to generate unit test reports for a project. This reporting process can be automated as well with Github Actions and we can make the reports available through artifacts.
We modify the dotnet.yml file as follows:
name: .NET

on:
  push:
    branches: [ master ]
  pull_request:
    branches: [ master ]

jobs:
  build:

    runs-on: ubuntu-latest

    steps:
    - uses: actions/checkout@v2
    - name: Setup .NET
      uses: actions/setup-dotnet@v1
      with:
        dotnet-version: 3.1.301
    - name: Restore dependencies
      run: dotnet restore
    - name: Install reportgenerator
      run: dotnet tool install --global dotnet-reportgenerator-globaltool --version 4.8.1
    - name: Build
      run: dotnet build --no-restore
    - name: Test
      working-directory: ./HomeBrewed.Test
      run: dotnet test --collect:"XPlat Code Coverage"
    - name: Generate report
      working-directory: ./HomeBrewed.Test
      run: reportgenerator -reports:./TestResults/*/*.xml -targetdir:./Reports
    - name: Create report artifact
      uses: actions/upload-artifact@v2
      with:
        name: unit-test-report
        path: HomeBrewed.Test/Reports
Basically, the commands which were run in a local shell in the previous blog post have been introduced into our build job steps with the run keyword. We also make use of the working-directory property so that the commands would run in the HomeBrew.Tests directory where the test result and reports will be generated.
- name: Install reportgenerator
  run: dotnet tool install --global dotnet-reportgenerator-globaltool --version 4.8.1
- name: Build
  run: dotnet build --no-restore
- name: Test
  working-directory: ./HomeBrewed.Test
  run: dotnet test --collect:"XPlat Code Coverage"
- name: Generate report
  working-directory: ./HomeBrewed.Test
  run: reportgenerator -reports:./TestResults/*/*.xml -targetdir:./Reports
- name: Generate report
  working-directory: ./HomeBrewed.Test
  run: reportgenerator -reports:./TestResults/*/*.xml -targetdir:./Reports
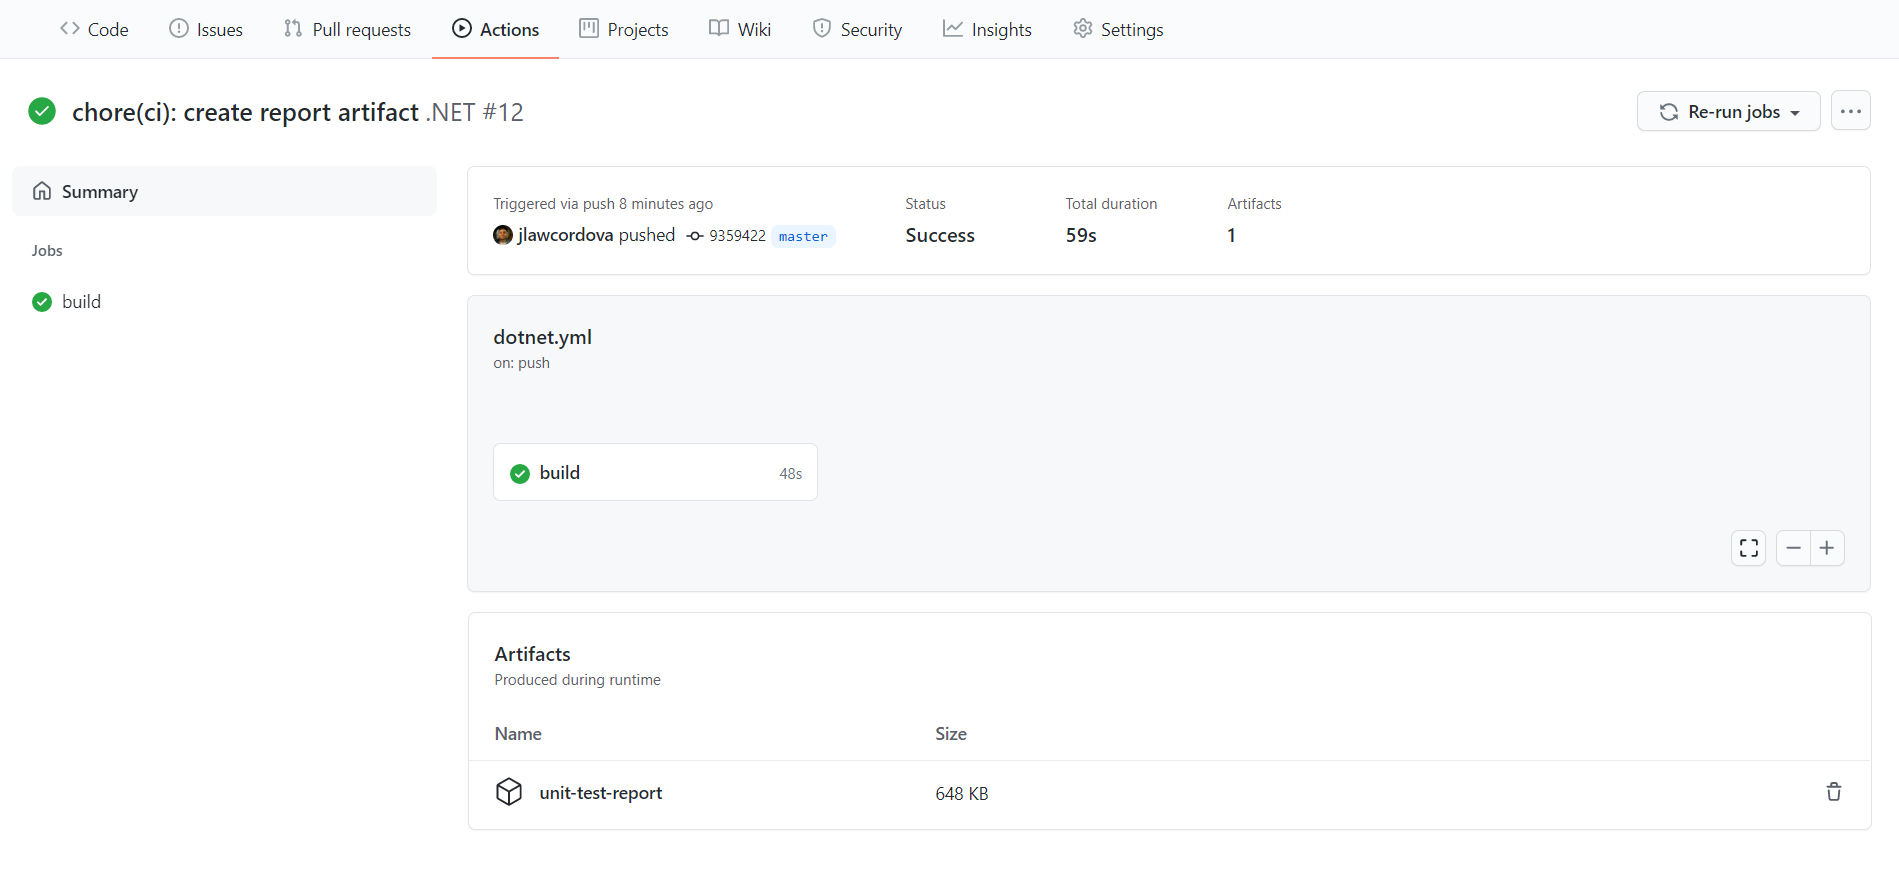
Finally, we add the uses: actions/upload-artifact@v2 community action to upload the generated report in the HomeBrewed.Test/Reports directory as an artifact called unit-test-report in our workflow.
- name: Create report artifact
  uses: actions/upload-artifact@v2
  with:
    name: unit-test-report
    path: HomeBrewed.Test/Reports
Commit the dotnet.yml changes into the master branch which should trigger the workflow again. Once the workflow is done running, we should see the artifact available for download on the workflow commit.

Conclusion
Github Actions provides an intuitive way of automating steps in the development pipeline. It offers a modern platform for continuous integration. The available workflow templates also makes it quick and easy to initially set up. Github Actions being free to use for open source Github repositories just makes it even better.
You can learn more about Github Actions directly from their site.